
Request a free audit
Specialising in Digital positioning and marketing, we tackle challenging questions that yield tangible value. By the end, you’ll receive actionable tips ready for immediate implementation. Take advantage of our complimentary, no-obligation complete audits.
Social media audit Problem definition workshop ISO/SOC readiness
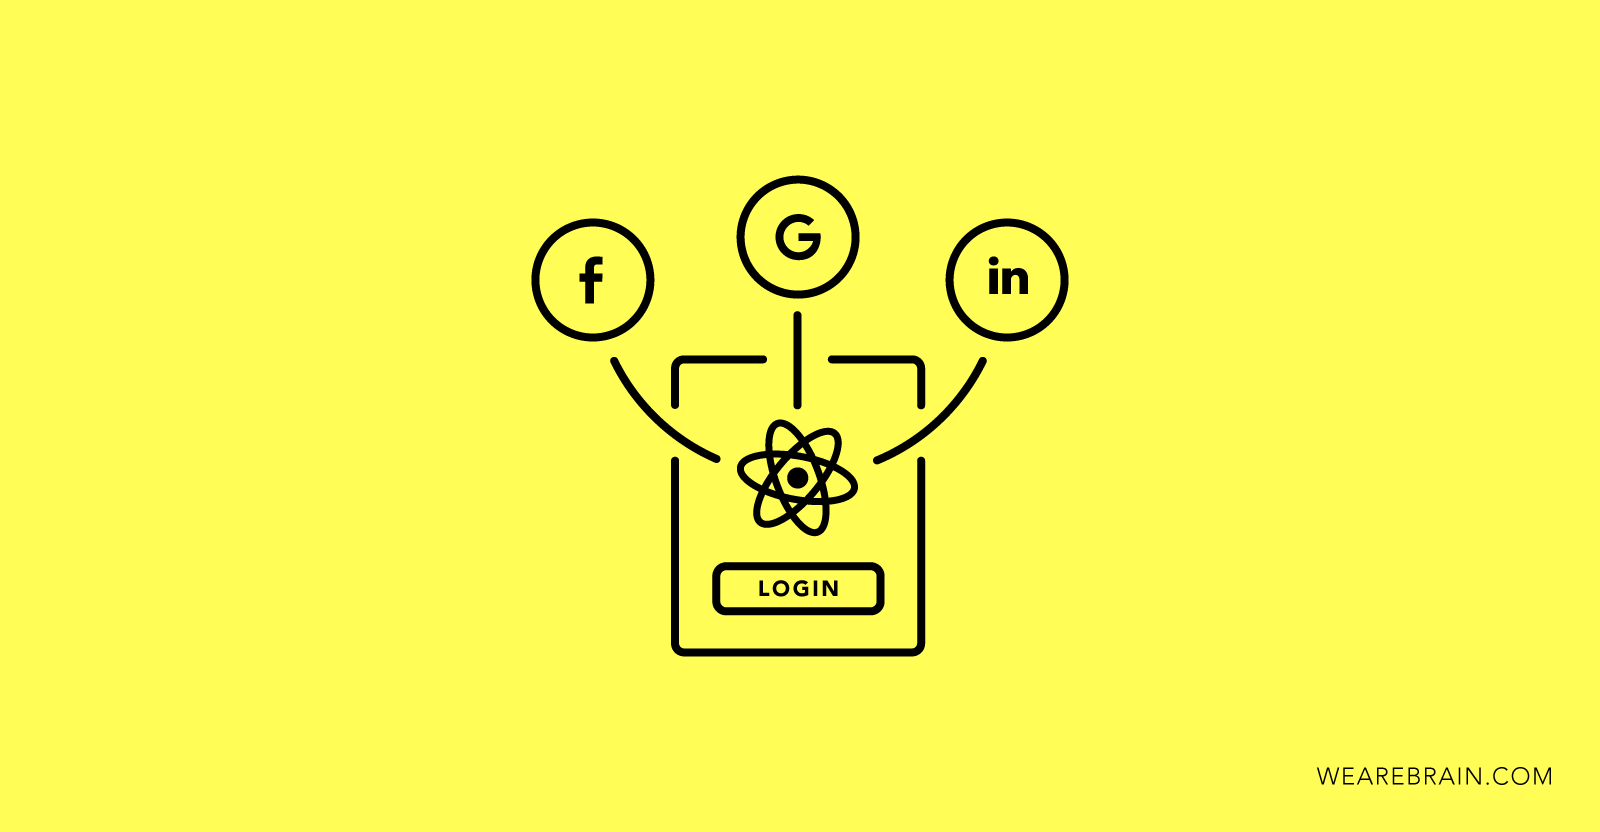
React client-side authentication with Facebook, LinkedIn and Google
By Dmitry Shishko, full-stack developer at WeAreBrain.
In this article, I will be showing you how we used React to enable authentication for social networks on the client-side.
The steps
The main objective is to take the unique identifier of a user (uid, email, name), and then send these params to the backend (PHP, Ruby, NodeJS) to finish the auth process.
const addScript = (id, src) => new Promise((resolve, reject) => {
 const element = document.getElementById(id);
if (element) {
  return resolve(true);
 }
const script = document.createElement('script');
 script.setAttribute('type', 'text/javascript');
 script.setAttribute('id', id);
 script.setAttribute('src', src);
 script.addEventListener('load', resolve);
script.addEventListener('error', () => reject(new Error(`Error loading ${id}.`)));
script.addEventListener('abort', () => reject(new Error(`${id}  loading aborted.`)));
document.getElementsByTagName('head')[0].appendChild(script);
});
export const addFacebookScript = () => {
  const id = 'facebookAuth';
  const src = 'https://connect.facebook.net/en_US/sdk.js';

  return addScript(id, src);
};
export const addGoogleScript = () => {
  const id = 'googleAuth';
  const src = '//apis.google.com/js/client:platform.js';
return addScript(id, src);
};
export const addLinkedInScript = () => {
  const id = 'linkedinAuth';
  const src = '//platform.linkedin.com/in.js?async=true';

  return addScript(id, src);
};
The second step is to create a LinkedIn auth component. To set up Linkedin you need a LINKEDIN_API_KEY. Lets go to the Linkedin development panel and create an app:
/* global IN */
import React, { PureComponent } from 'react';
import PropTypes from 'prop-types';
import { addLinkedInScript } from './scripts';
export default class LinkedIn extends PureComponent {
 async componentDidMount() {
  try {
   await addLinkedInScript();
   // Initializtoin with you API_KEY
   IN.init({ api_key: LINKEDIN_API_KEY });
  } catch (error) {
    console.log(error.name, ':', error.message);
  }
 }
/**
 * Handle click button
 */
 handleClick = () => {
  const {
   loading,
   onSuccess,
   onFailure,
  } = this.props;

 if (loading || !IN.User) {
  return;
 }
IN.User.authorize(() => {
 // If authorization pass well, we take profile info
 IN.API.Profile('me')
  .fields(['id', 'firstName', 'lastName', 'emailAddress'])
  .result((res) => {
    const data = {};
    data.identity = {
      uid: IN.User.getMemberId(),
      provider: 'linkedin'
    };
    data.user = {
     email: res.values[0].emailAddress,
     firstName: res.values[0].firstName,
     lastName: res.values[0].lastName,
    };
    data.auth = IN.ENV.auth;
// Send data to back end
    onSuccess(data);
   });
  },
  err => onFailure(err));
 }
render() {
  return (
   <span
     className="btn linkedin"
     onClick={this.handleClick}
   >
    <i className="icon-in" />
   </span>
   );
  }
 }
LinkedIn.propTypes = {
 loading: PropTypes.bool.isRequired,
 onSuccess: PropTypes.func.isRequired,
 onFailure: PropTypes.func.isRequired,
};
Third, create a Google auth component; to initiate Google you will need a GOOGLE_CLIENT_ID. Go to the Google Developers Console and create a new project, you can do it here.
/* global gapi */
import React, { PureComponent } from 'react';
import PropTypes from 'prop-types';
import { addGoogleScript } from './scripts';
export default class Google extends PureComponent {
 async componentDidMount() {
  try {
   await addGoogleScript();
   const params = {
    client_id: GOOGLE_CLIENT_ID,
    scope: 'profile email',
   };
   gapi.load('auth2', () => {
    if (!gapi.auth2.getAuthInstance()) {
     gapi.auth2.init(params);
    }
   });
  } catch (error) {
   console.log(error.name, ':', error.message);
  }
 }
/**
 * Handle click button
 */
 handleClick = () => {
  const { loading, onSuccess, onFailure } = this.props;
  const auth2 = gapi.auth2.getAuthInstance();

  if (loading) {
   return;
  }
auth2.signIn()
   .then((res) => {
     // If authorization pass well, we take profile info
     const basicProfile = res.getBasicProfile();
     const data = {};
     data.identity = {
      uid: basicProfile.getId(),
      provider: 'google'
     };
     data.user = {
      email: basicProfile.getEmail(),
      firstName: basicProfile.getGivenName(),
      lastName: basicProfile.getFamilyName(),
     };
     data.auth = res.getAuthResponse();

     // Send data to back end
     onSuccess(data);
    },
    err => onFailure(err));
 }
render() {
  return (
   <button
    type="button"
    className="btn google"
    onClick={this.handleClick}
   >
    <i />
   </button>
  );
 }
}
Google.propTypes = {
 loading: PropTypes.bool.isRequired,
 onSuccess: PropTypes.func.isRequired,
 onFailure: PropTypes.func.isRequired,
};
Fourth, create a Facebook auth component; to set up Facebook you will need a FACEBOOK_APP_ID, go to Facebook and create an app:
/* global FB */
import React, { PureComponent } from 'react';
import PropTypes from 'prop-types';
import { addFacebookScript } from './scripts';
export default class Facebook extends PureComponent {
 static propTypes = {
  loading: PropTypes.bool.isRequired,
  onSuccess: PropTypes.func.isRequired,
  onFailure: PropTypes.func.isRequired,
 };

 async componentDidMount() {
  try {
   await addFacebookScript();
   const params = {
    appId: FACEBOOK_APP_ID,
    cookie: false,
    xfbml: false,
    version: 'v3.2'
   };
   FB.init(params);
   FB.getLoginStatus(resp => console.log('FB:status:', resp.status));
  } catch (error) {
   console.log(error.name, ':', error.message);
  }
 }

 handleClick = () => {
  const { loading, onSuccess } = this.props;
  if (loading) {
   return;
  }

  FB.getLoginStatus((resp) => {
   console.log('FB:status:', resp.status);
    const params = {
     provider: 'facebook'
    };

   if (resp.status === 'connected') {
    params.uid = resp.authResponse.accessToken;
// Send data to back end
    onSuccess(params);
    return;
   }

   FB.login((response) => {
    console.log('FB:status:', response.status);
    if (response.authResponse) {
     params.uid = resp.authResponse.accessToken;
     onSuccess(params);
    }
   }, { scope: 'email' });
  });
 }

 render() {
  return (
   <button
    type="button"
    className="btn facebook"
    onClick={this.handleClick} >
    <i className="icon-facebook" />
   </button>
  );
 }
}
And that’s it!
Now we’ve created three components, which allow you to get a user’s information from their socials, and send it to your backend.
Hope this was helpful.
Mario Grunitz


Working Machines
An executive’s guide to AI and Intelligent Automation. Working Machines takes a look at how the renewed vigour for the development of Artificial Intelligence and Intelligent Automation technology has begun to change how businesses operate.
